Bucks Livery
The Buckingham Retinue Livery
As we have a substantial number of new people within the group, I have decided to produce this guide for people on how to make up a livery; detailing the new livery for consistency in the future, as we have several different examples on display within the group at the moment. Newer members are requested to make their liveries to the following design, which will be their livery and coat, with older members adapting this design when they replace their current liveries
Their are also several styles of embroidered badges, available for purchase, to adorn your liveries with.
Your Requirements
If you are new to the group, and are not sure on what to go for, consider the following: 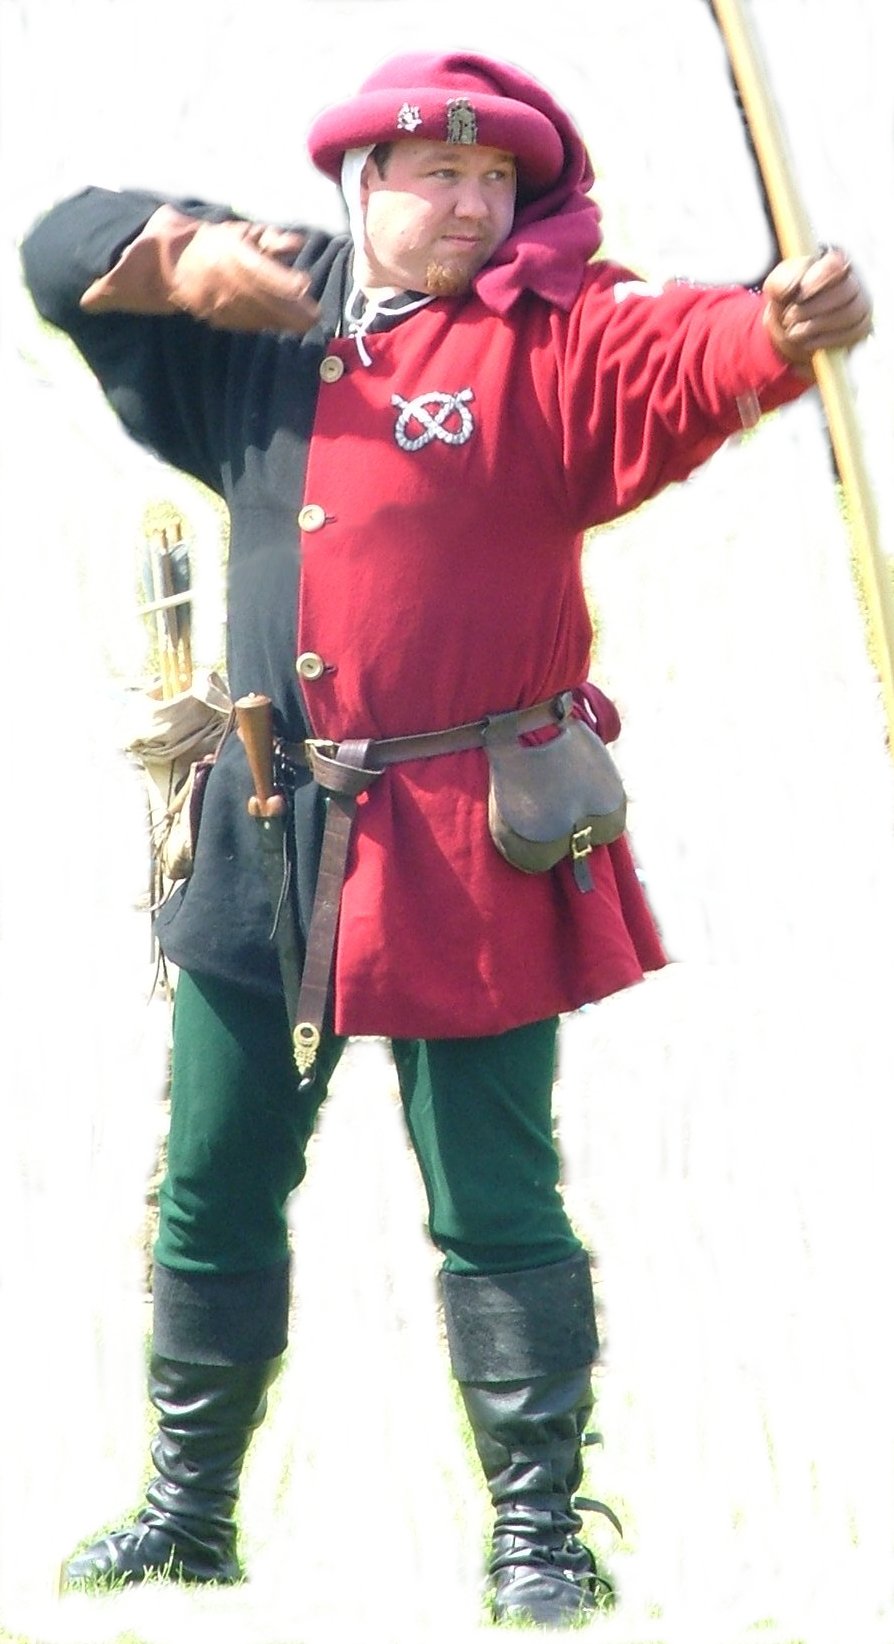

Will I be wearing the livery as a coat? You may prefer long sleeves to keep warm on the evenings.
Will I / do I have a puffed sleeved padded Jack? You might consider long puffed, short or split sleeves.
Will I / do I have arm armour? Some members who have arm armor prefer shorter sleeves or tabards, as they allow for movement.
If in doubt, please ask people who have the combination you would prefer what works best for them.
If in doubt, please ask people who have the combination you would prefer what works best for them.
Colour and Design
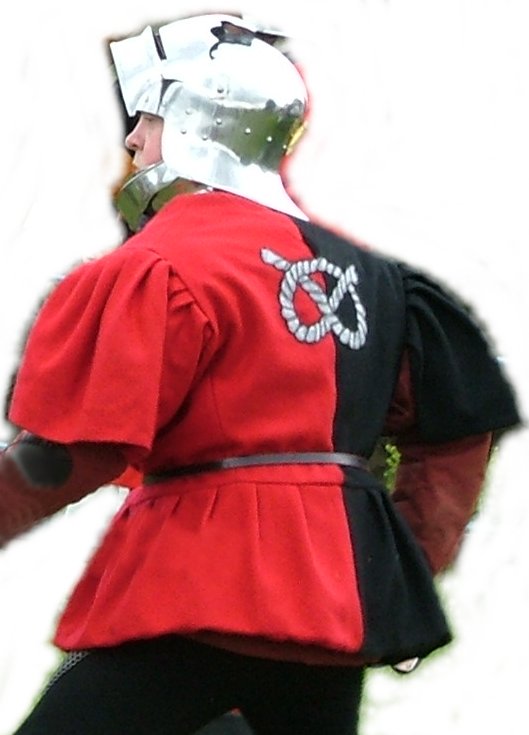
Instead of the quartered design, a halved livery is now requested. The left half will be made out of red wool (with the smaller badge over the heart), while the right side will be made out of black wool. So the livery will look as though you have sewn two different doublets together down the centre, rather than the quartered look that is common at the moment. The internal part should be made out of linen – I would suggest red or black for a flashy look, but most other colours would be fine too.
How to Make a Livery
Material – for one long sleeved livery you will need: 1m of red wool 1m of black wool 2m of linen lining. – all washed and ironed.
-
Find a tape measure and some spare paper – perhaps some unused wall paper.
-
If you will be wearing a jack, put it on and ask someone else to measure you.
-
Measure from the top of your back to your bottom of your back. Add 10 cms
-
Measure from the centre of your back (at the neck) to the top of your shoulder. Add 5cms. If you want your livery to be pleated from the neck, then you need to add even more to the length of this measurement.
-
Measure your bum width, at the same place as above. Divide by 4 and add 10 cms. We only want it for the quarter panel. Add more for flare.
-
Measure around your body underneath the arm, and then divide that number by 4 and add 8cms.
-
Measure from underneath your arm to the bottom of the side of your jack and add 8cms.
-
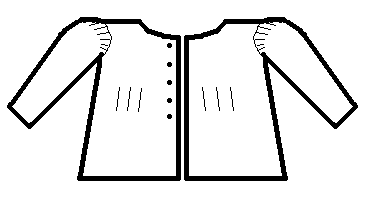
Assemble these measurements on a pattern resembeling the body panel adjacent. Making slight curves as shown on the diagram below for the neck and arm holes. Note: cut the neck line out after you have used the shoulder measurements. (Do not cut your paper yet!)
-
Once you are happy with the shape on the paper, you need to think about how much sewing allowance you need to leave. The above measurements will make a fairly close fitting livery body panel, so if you want to make it fairly baggy add a couple of cms around. I leave approx 1cm seam allowance, but others leave more or less. Once you have decided on your allowance, you have to draw that margin all the way around your paper pattern. This pattern can be used for all four quarters with minor adjustment to the neck curve.
-
Cut out and sew the linen panels together.
-
Cut out and sew the wool panels together, making sure that you have the red and black correct.
-
Attach the sleeves, then sew the lining to the outside.
-
Pull the garment the correct way around and sew the cuffs of the sleeves.
-
Iron your livery seems flat and then add your buttons or points. If you need to add waist pleats then refer to the diagram below.
-
Sew on your new embroidered badge, so looking flash at the next event will be complete!
The Sleeve Pattern.
Depending on the type of sleeve you want your livery to have, there are several different patterns. Below is a diagram of the pattern pieces for the various sleeves.
Once you have chosen the sleeves, cut them out and sew them. Add them to the main garment.
Once you have chosen the sleeves, cut them out and sew them. Add them to the main garment.
 A suitable pattern for a short or long pleated sleeve. It can be as baggy or tight as you require.
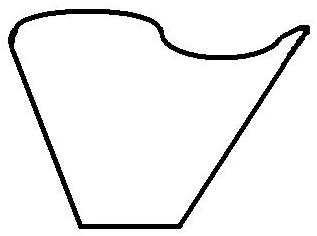 The traditional medieval sleeve is very strange in modern terms. The seam goes down the back of the arm, rather than underneath it like modern clothng.
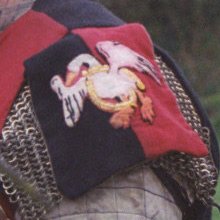 The sleeve flap can just be attached, it can be dual or single coloured, it should be added just before the arm hole has been sew together.

