Under Doublet
Under Doublet
This my prefered version - the under-doublet. The under-doublet is more accurate than a pourpoint, since it was probably normally worn to go below armour and the outer doublet. Normal wear would be the under doublet and then the outer doublet. You can see this in numerous illustrations, as the sleeves of two doublets are visible and the collar of the inner doublet is visible. An under-doublet is lighter in weight and more fitted than a normal doublet and has pourpoint length skirts, which are used to point hoes to. To make an under doublet use the same pattern as an over doublet, just make sure you add a collar. 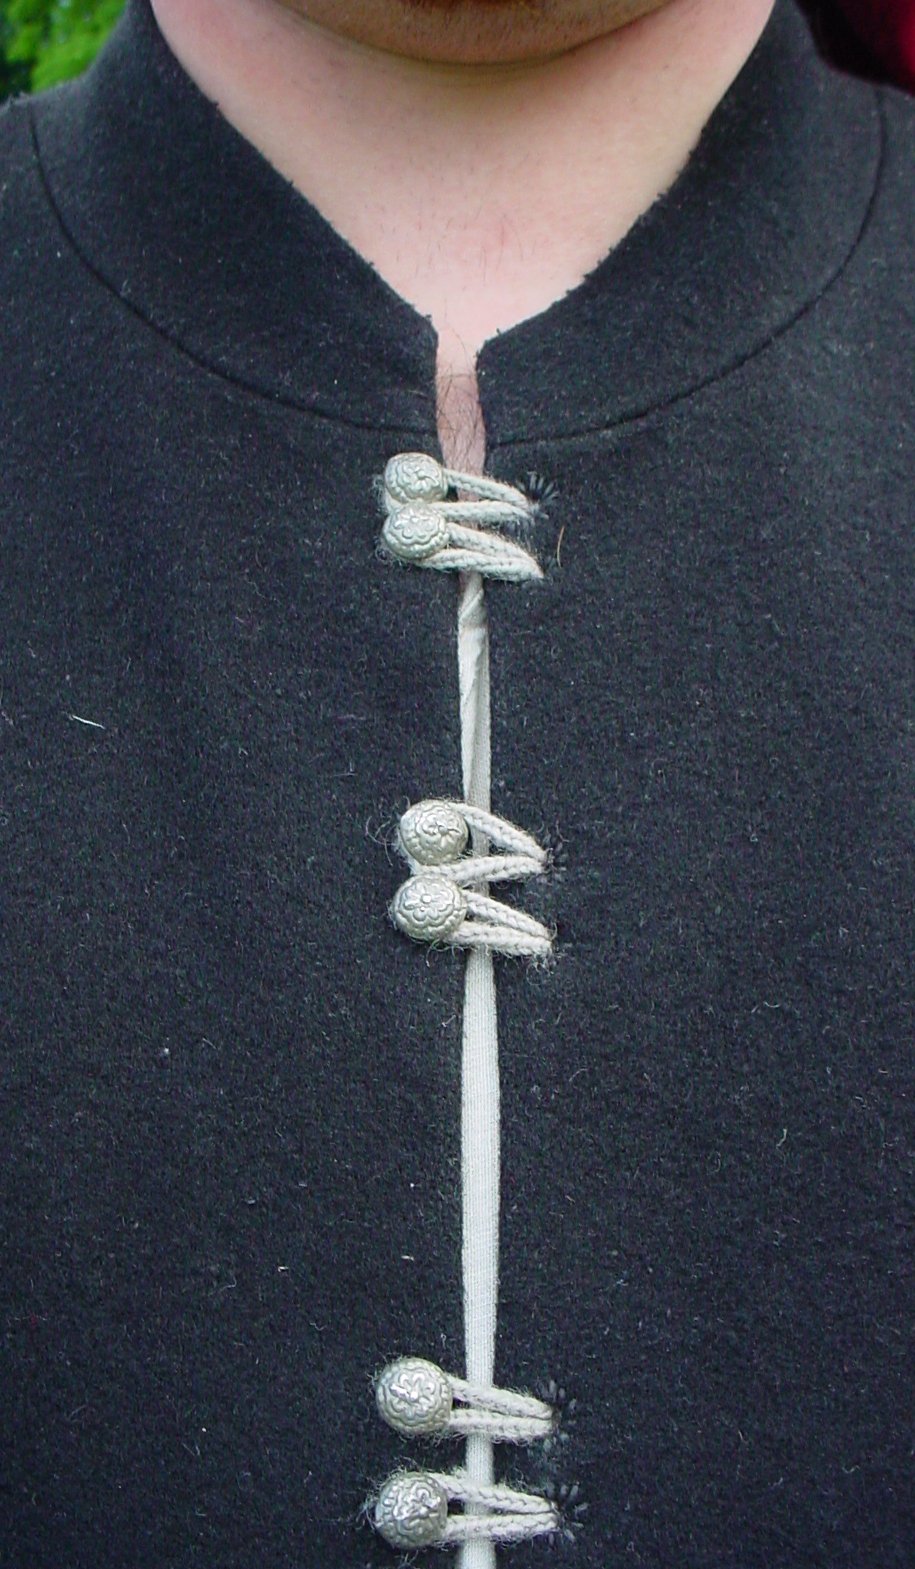 Remember to make your outer doublet slightly larger if you are going to wear an under doublet!
 Remember to make your outer doublet slightly larger if you are going to wear an under doublet!
Pourpoint
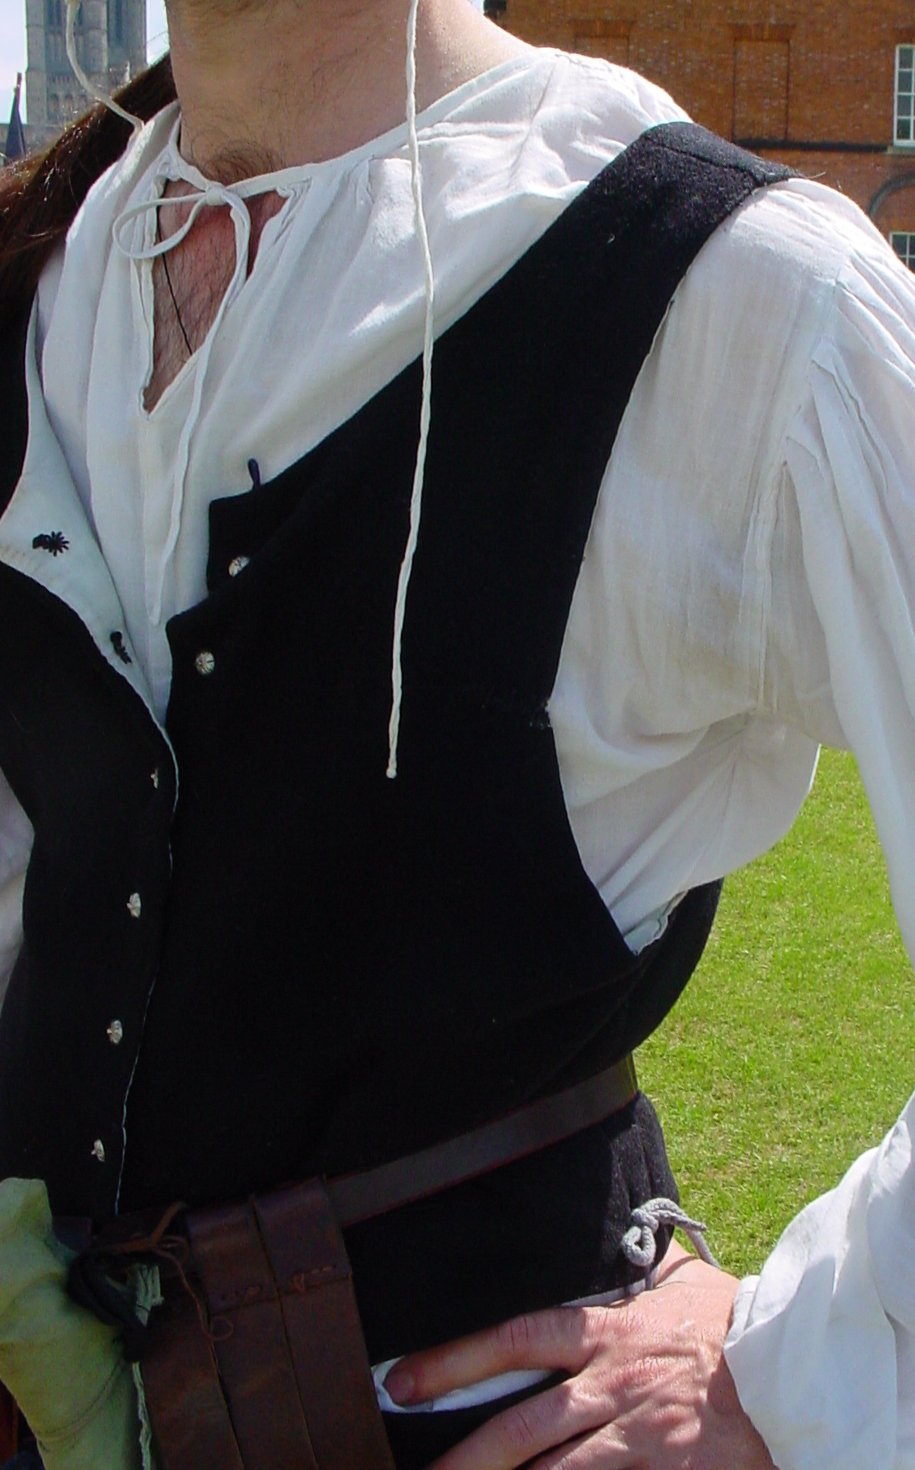 These are a sort of waistcoat. They are fitted to the body and have skirts like a doublet but much shorter, about 5cm (2") deep. They normally have no collar and a scooped or V neckline. They are nearly always pointed closed, as buttons don't sit well under a doublet. They always have point holes for your hoes and interfacing the skirts for strength is a good idea if your material is light weight. Occasionally I line the skirt area with canvas or heavy weight linen, for added strength to the pointed area, others attach leather squares to reinforce the point holes.
 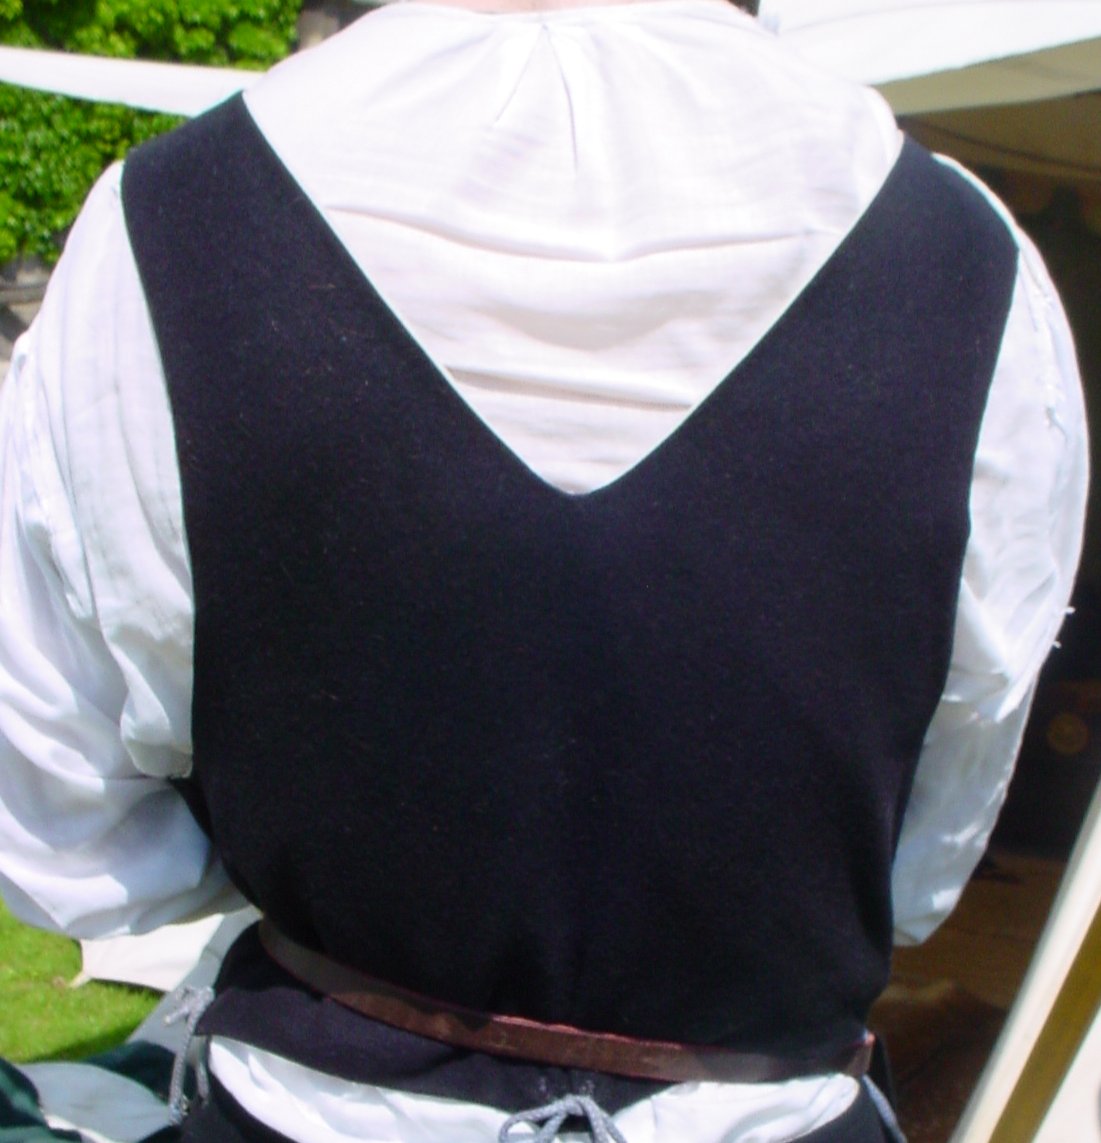 The pictures to the side are of a V-necked pourpoint while the pattern below is for a round necked pourpoint. Notice that the arm holes are also cut very low on the version to the side, while the one below is cut high in comparison.
The pattern for the pourpoint can be taken from the Doublet pattern or a modern waist coat.
Material: Wool or linen, for pourpoint 0.75 to 1.5m of each. Colours: Any appropriate to your station
-
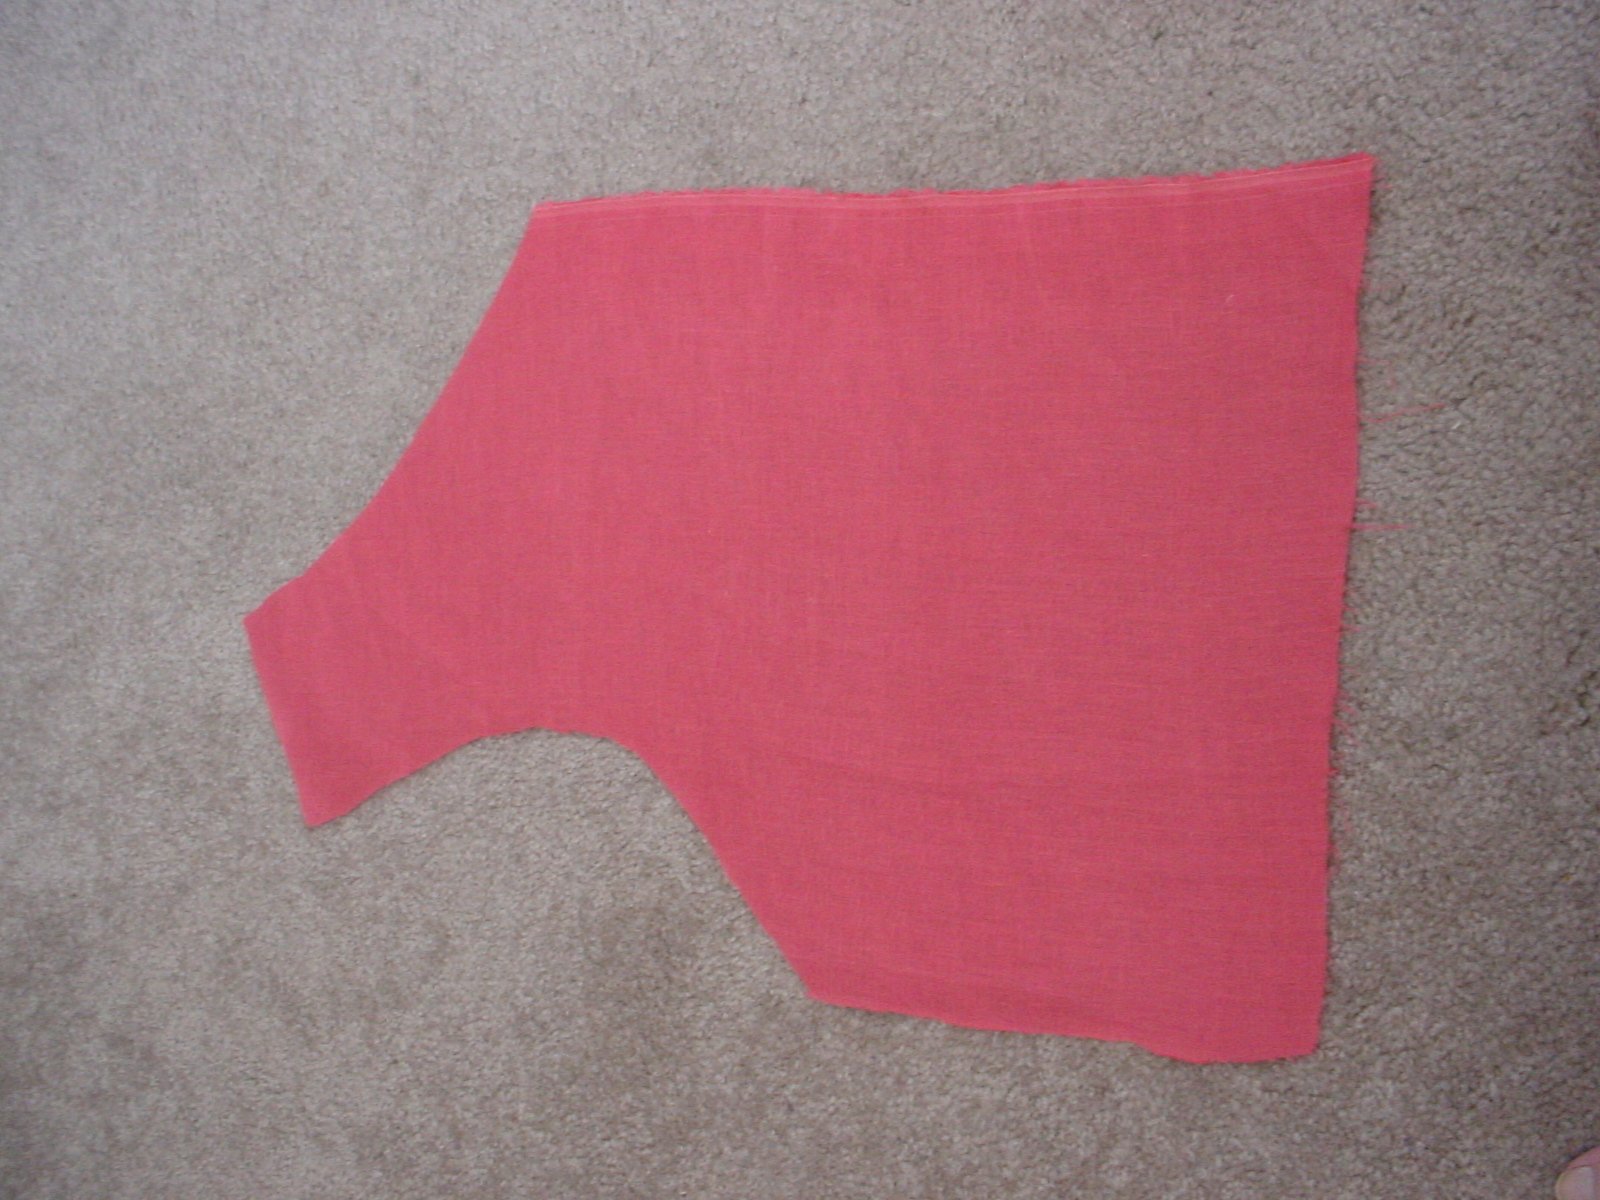
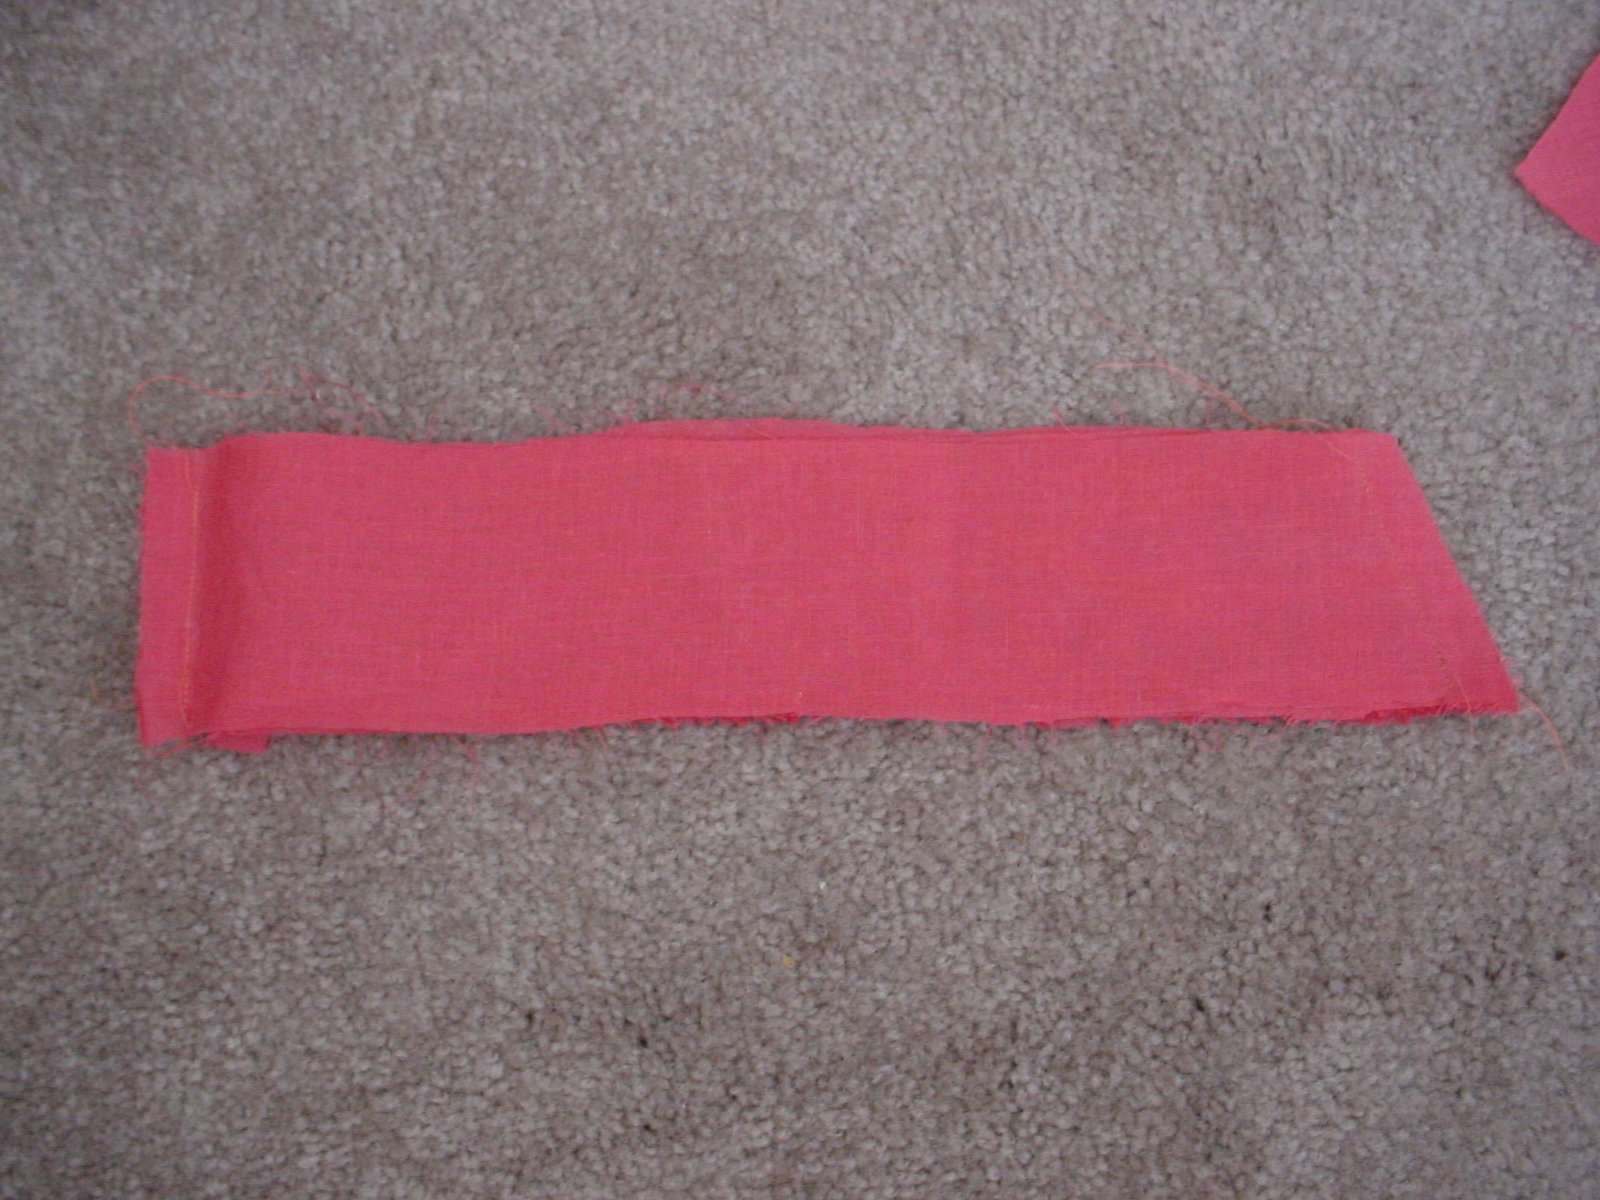
Your pattern should look similar to the pieces below.
-
Sew the lining together (body first, then add the skirt, then the shoulders)
-
Sew the outer together, repeating as above.
-
Pin the insides and outsides together, leaving the arm holes unpinned. Sew around the whole garment. Pull through the garment to the correct side and iron flat.
-
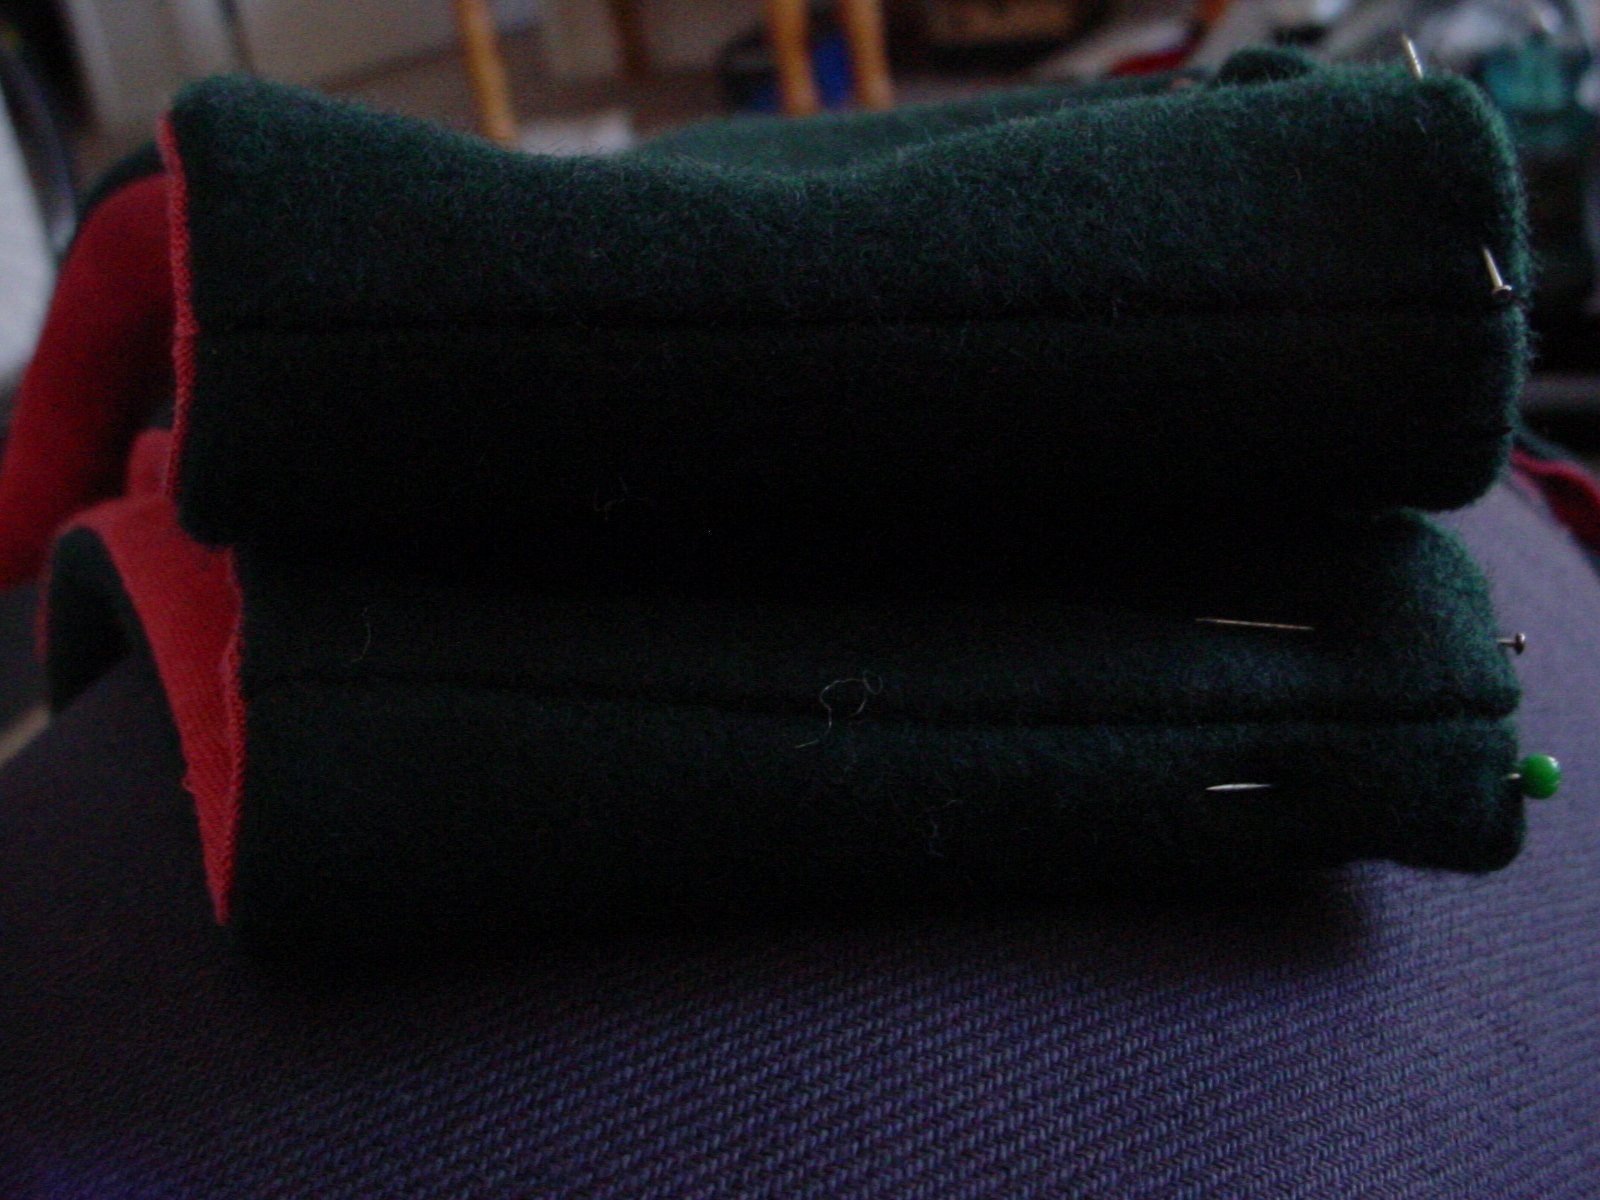
Pin the arm holes by folding the edge of the material into the main body, so new edges can be seen. Remember to make sure that the shoulders are of the same length.
-
Sew the arm holes using the hidden stitch. Iron again.
-
Add point holes.
