A Quick Guide to Hand Sewing
| Casting On | I find it best to use a long piece of thread when sewing. After threading the needle, I knot the two ends together, so the needle does not accidentally unthread. I then secure the thread by making a stitch and then looping the needle through the thread near to the knot, so the thread does not come loose. |
|
The Running Stitch
 |
This can be used for seams that will not hold a lot of stress i.e. cuffs and neck lines. After casting on, take the needle in and out of the through the fabric and make a small stitch (2-3mm). |
|
The Back Stitch
 |
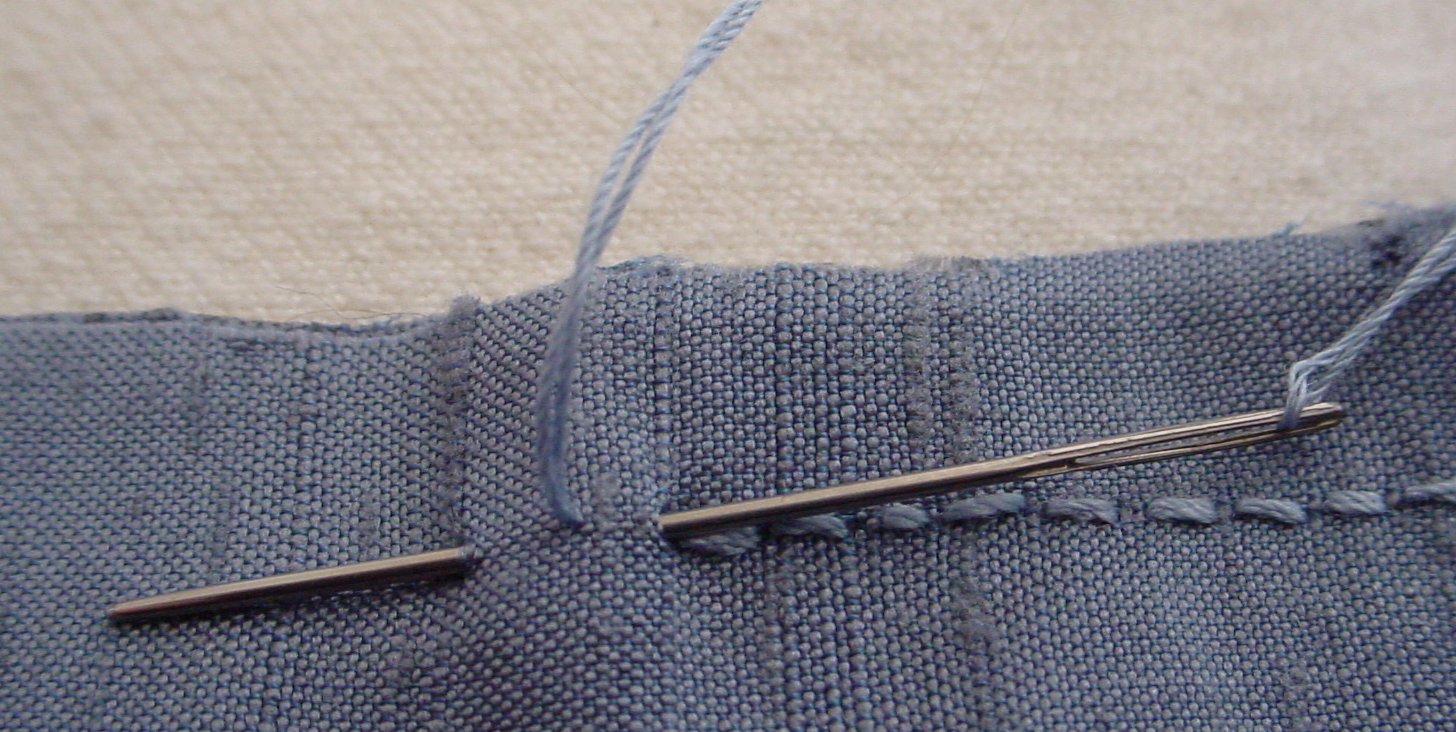
I use this stitch for every seam that will hold stress on a garment. This stitch is very much like the running stitch, but you go back over your work so there are no spaces between the stitches. Make one running stitch, then insert needle 1/2 way back on this stitch and bring back up 1/2 stitch length past end of running stitch. (Stitch length should be 2-3mm) Continue going back 1/2 stitch each time. Remember this stitch has a different appearance on the back to the front, (see picture) so make sure the good side is on the garment side you want people to see. |
|
The Overcast Stitch
 |
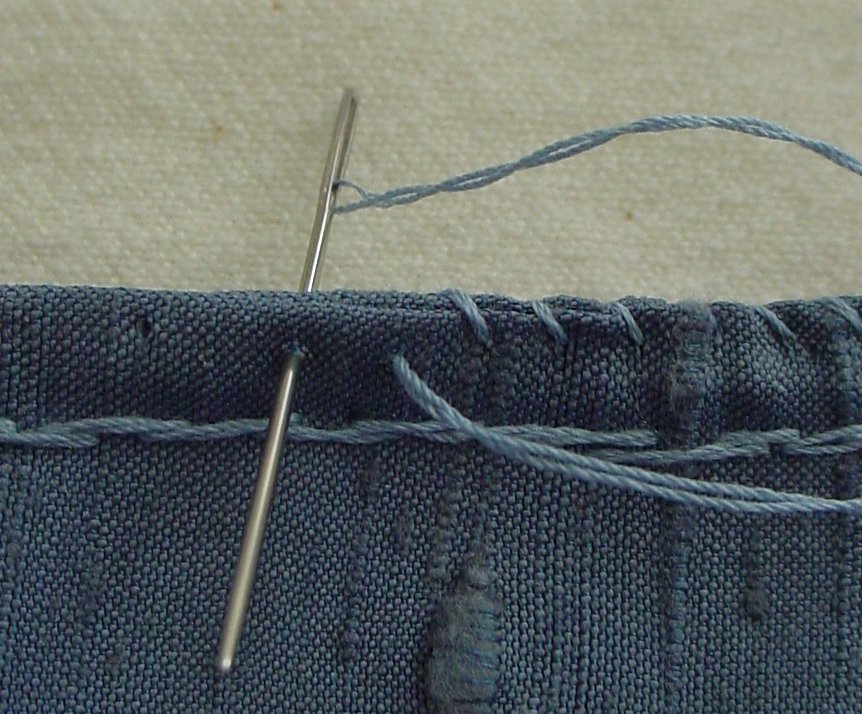
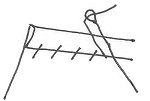
This can be used to finish off raw edges, the material should be folded inwards to prevent future fraying (this is especially necessary when using linen or wool with a loose weave).Take diagonal stitches over the edge of the fabric, spacing evenly. |
|
The Hemming Stitch
 |
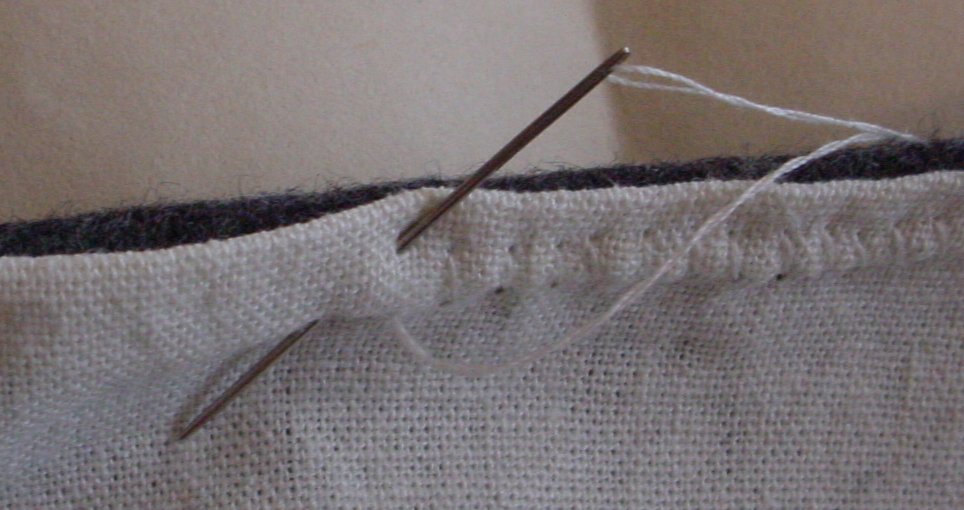
This can be used for hems or cuffs. Begin by making a tiny stitch in the garment fabric, and then bring the needle diagonally up through the edge of the hem. This will create a diagonal stitch on one side and a straight stitch on the other. |
| The Jeans Stitch | I found this the most difficult stitch until recently and then it just clicked in my head. For this stitch you need to have one piece of fabric slightly overhanging the other. You then sew the first seam together using the back stitch. When that seam is completed you fold in the excess seam making it flat to the fabric, hiding all of the raw edges and begin to sew the entire seam again using the back stitch. You will then end up with two parallel lines of sewing and a very strong seam. |
The Hidden Stitch |
This stitch is really good for armholes and cuffs. To make this successful, you need to make sure your thread is a close match to the lining. Fold the ends of material inward on the completed garment and pin neatly, making sure the inside and outside fabrics match up. Then sew at an angle (approx 45 degrees) You always sew on the lining side, making sure you catch the overlap of outer material, but in a way that will not show on the outside of the material. |
Tying off When you have got to the end of the piece of thread, you need to secure it by making a small knot. I find it best to go over my last stitch a couple of times and knot above and through that stitch – you will find your own way.
